Setting up an endpoint
Last updated January 5, 20243 min read
Setting up an endpoint with Hooklistener is very easy. Here's everything you need to know to get started.
Prerequisites
Before you begin, make sure you:
- Are logged into your account
- Navigate to the Endpoints section in the left menu (or access it from the Dashboard)
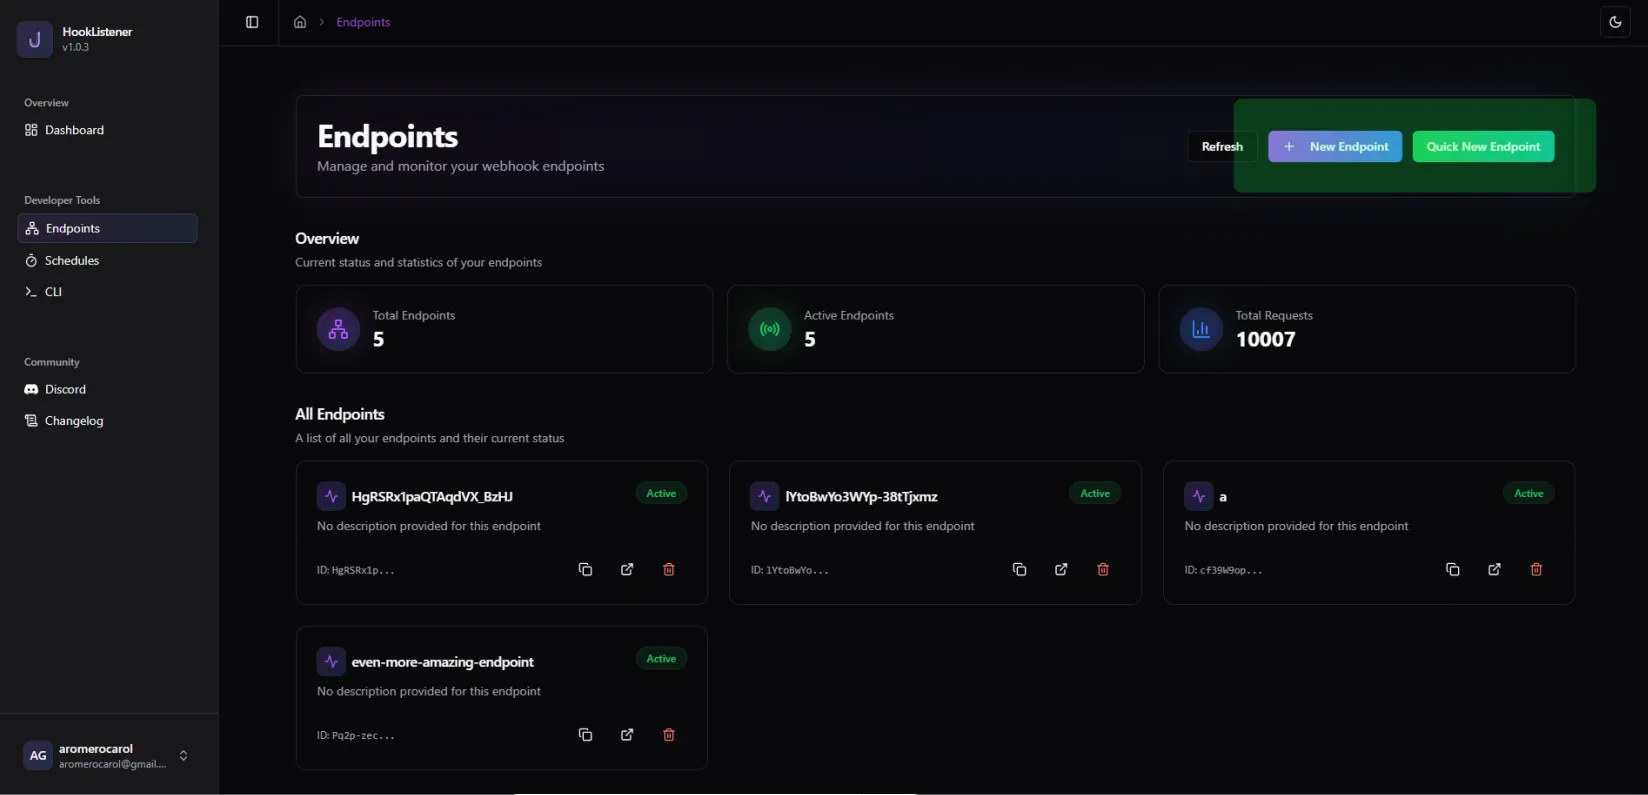
Creating a New Endpoint
You have two options for creating endpoints:
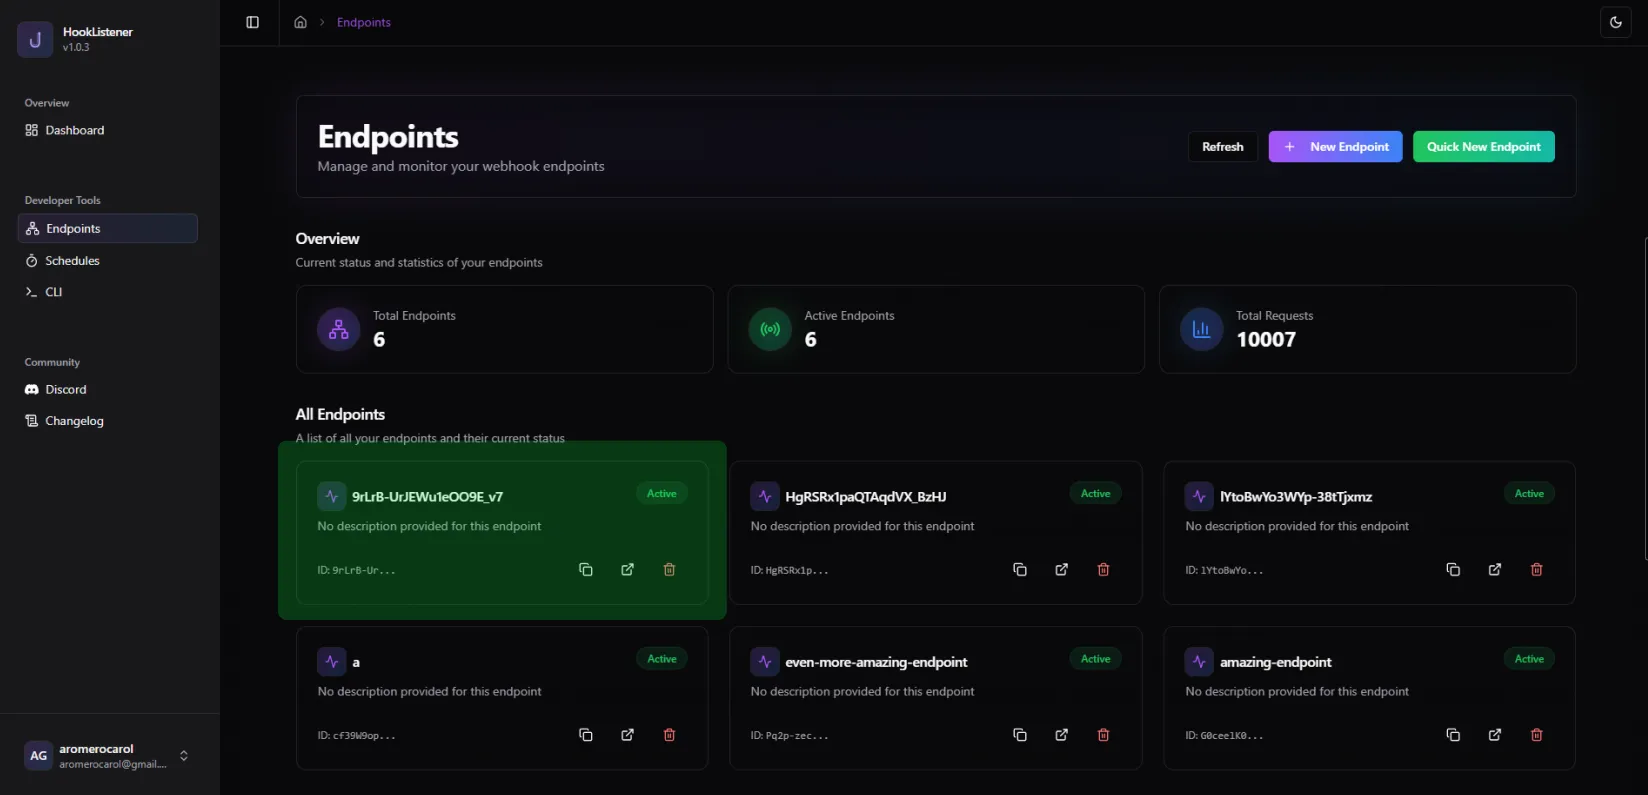
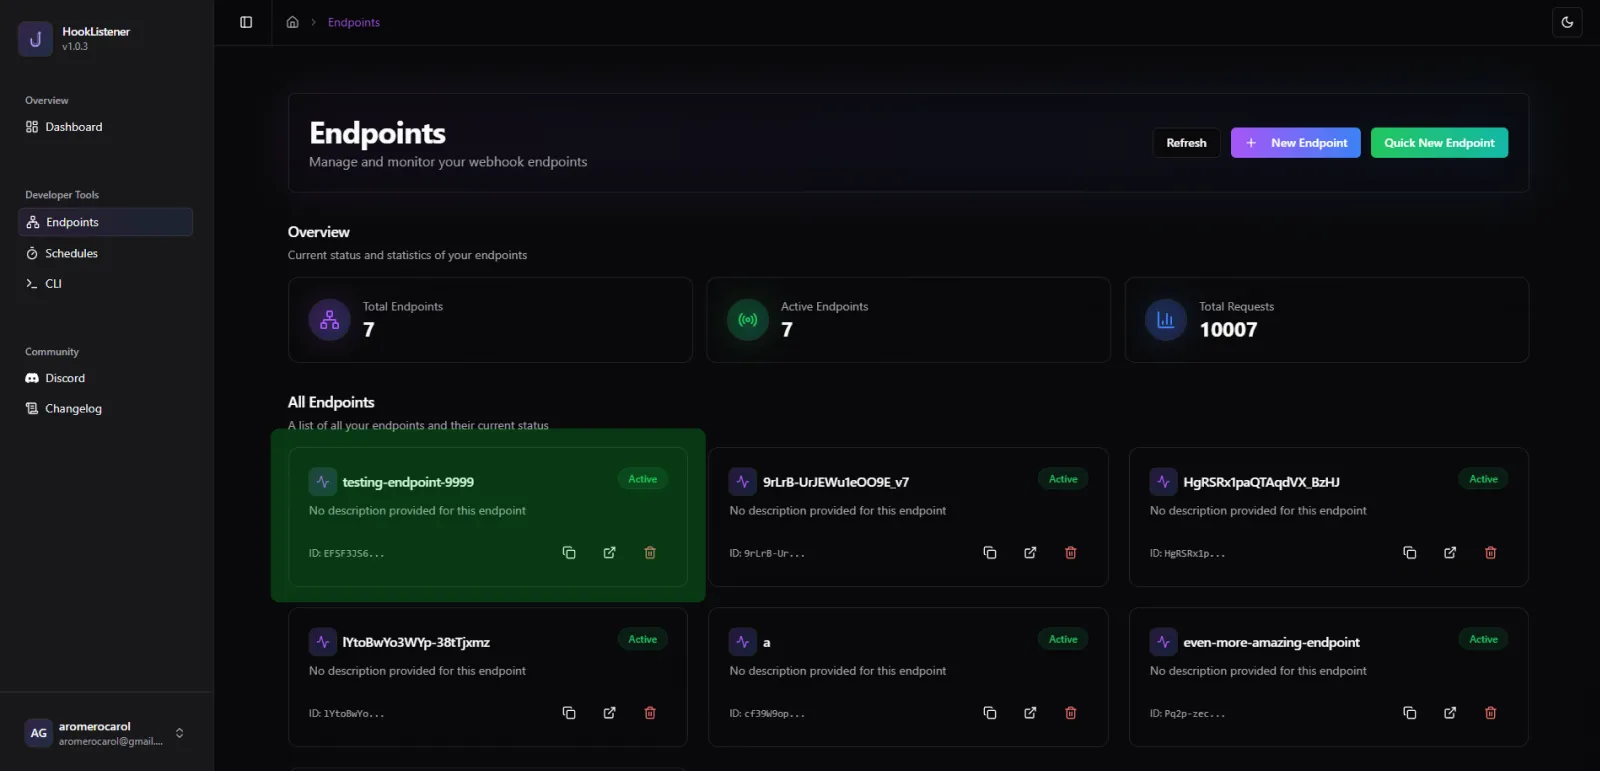
1. Quick New Endpoint
This is the best option if you just want to obtain an endpoint quickly, without the need for configuration. With this option:
- An endpoint is automatically created
- Default settings are applied
- A name is automatically assigned
- The new endpoint appears at the top of your endpoint list
2. Custom New Endpoint
Choose this option when you need more control over your endpoint setup. You can customize:
- Name and description
- Body content
- Status code
- Content type
- Forwarding endpoints
Managing Your Endpoint
Once your endpoint is created, you can:
- View all details by clicking on the endpoint
- Copy the URL directly from the endpoint box
- Delete the endpoint using the trash icon
Next Steps
Congratulations! Your endpoint is now ready to receive traffic. Simply:
- 1Copy the endpoint URL
- 2Start sending traffic to it
- 3Begin debugging your webhooks
Important Note
Remember that deleting an endpoint is permanent and cannot be undone. All data collected and associated with the endpoint will be permanently removed.