← Back to Guides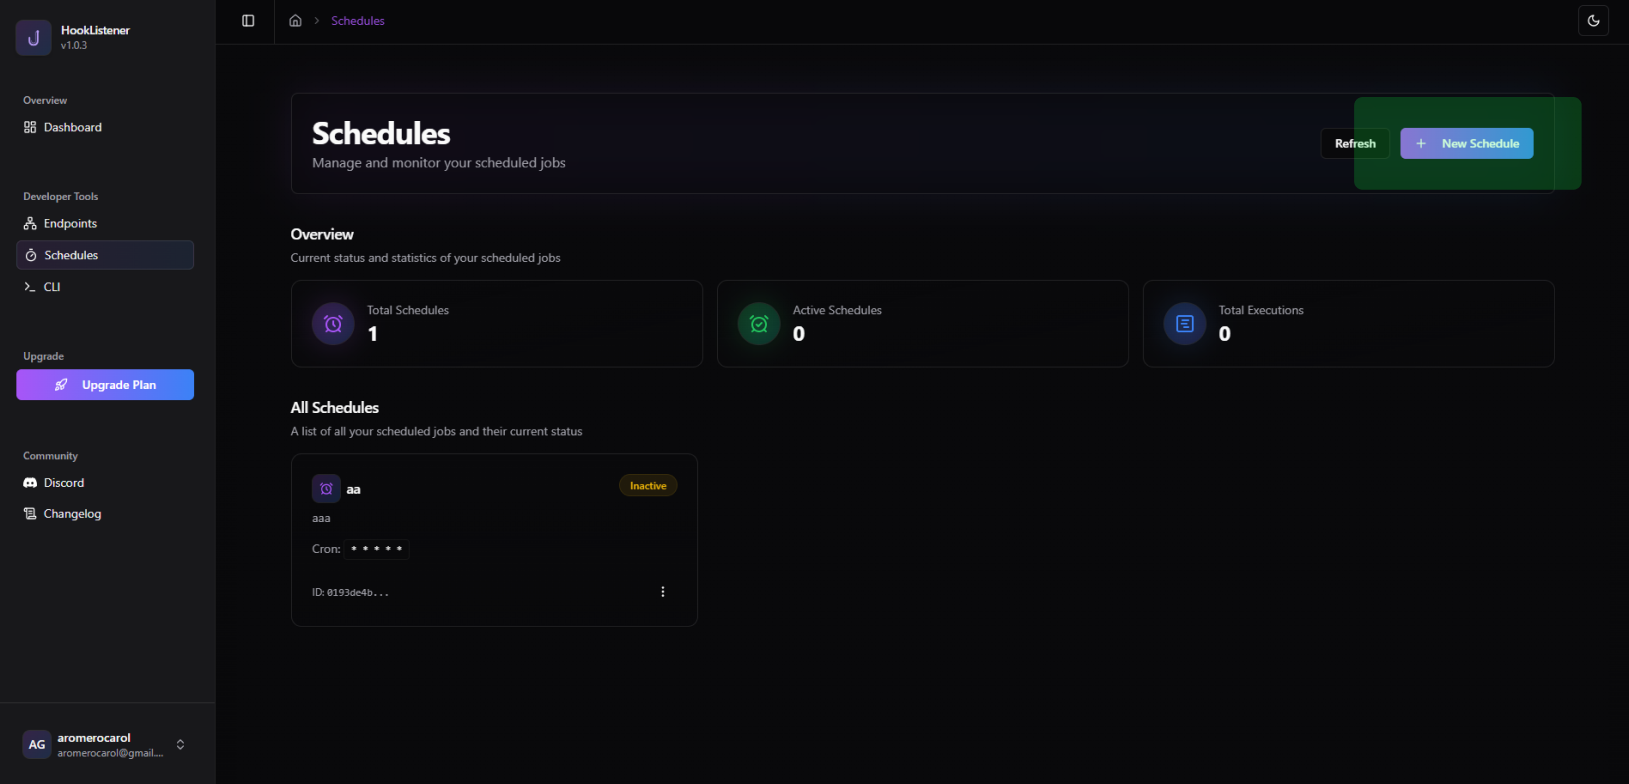


Creating a Schedule
Last updated January 5, 20243 min read
Creating a schedule with Hooklistener is just a few steps away. Here's everything you need to know to get started.
Prerequisites
Before you begin, make sure you:
- Are logged into your account
- Navigate to the Schedules section in the left menu (or access it from the Dashboard)
Creating a New Schedule
Select "New Schedule" on the top right. A menu will appear where you can configure:
- Name and description
- Cron expression and frequency
- HTTP method
- Timeout time
- Destination URL
- Headers and body
Managing Your Schedule
Once your schedule is created, you can:
- View all details by clicking on the schedule box
- Access settings to edit configuration options
- Pause the schedule without deleting it
- Trigger an instant delivery using "Execute Now"
Next Steps
Congratulations! Your schedule is ready and active. To manage it:
- 1Click the three dots menu to pause or execute instantly
- 2Monitor scheduled deliveries
- 3Adjust settings as needed
Important Note
If you need to temporarily stop your schedule, use the pause feature instead of deleting it. This way, you can easily resume it later without losing your configuration.